Add New Locality/Region
The e-Rocks database has an extensive list on mineral localities World wide, by no means perfect and by no means complete.
When added an item to our database our generic look up and autocomplete field set is presented.
This allows you type and search at the same time, seeing available matches for your entry.
In the case something is not found we have a process that lets you add a new entry.
This page helps you with this process and our peer checkng/approval process.
Data Formatting
Across most mineral locality labelling there is a general rule that data is formatted,
lowest(comma space)next(comma space)highest
Mine, Region, Country
e-Rocks is no different, however we have single term fields for Region & Country. Please see our section "Adding Text to e-Rocks"
To start we have two User Interfaces (UIs) both doing the same thing but with diffent access. Both are present on the site in different pages - as explained below.
1. Adding a locality - Item Page, Mineral Photo Page etc
Our "standard" inline locality input consists of three linked fields in what we term a taxonomy.
| Field Name | Role | Notes |
| Locality | Lowest level, eg Mine, Town, County | If the locality cannot be found you have the option to add a new locality and continue |
|
Region |
State, or second level jurisdiction under Country | Add |
| Country | Country highest level | Add |
The three fields are stacked on top of each other in logical order.
In normal inputting you would add the lowest obvious locality term, such as Tsumeb, as you type the database offers you the choices we already have. If a match appears you click and all the fields populate.
If you can not find what you need, the next step is to try adding the region level, again the database will give you options as you type; select the one you need. Region and Country will populate

Adding new locality field
If you have not found the locality but a region has come up. Check the "add new locality" box to the left of the field. This will open the field for inputting.
Just add the mine, town, county/sub region information as requested above.
When you save your item this will get written as a new locality to the database - you should see a message at the top of screen - and the locality will be linked to the Region field data you have added.
Adding a new region
This works in exactly the same way as locality. Search first for the highest level region in a country.
If one can not be found, select the Country, then check "add new region".
Complete the details - note in this field we expect just one term, eg "Tennessee" not "Smith County, Tennessee".
As above your new region will be written when you save your item.
Adding new locality and region field
By selecting a country and checking both "add new" boxes you will be able to add a whole locality, region, country string in one go.
1. Adding a locality inline Editor - Blog Page etc
Our shortened inline locality input opens a "pop up" consists of three linked fields in what we term a taxonomy.
The single box UI allows you to type and seach at the same time, but in this case offers you a combination of Localities, Regions, Countries to choose from.
Again if your search returns nothing, you can add new locality information by clicking the "add new locality" link.

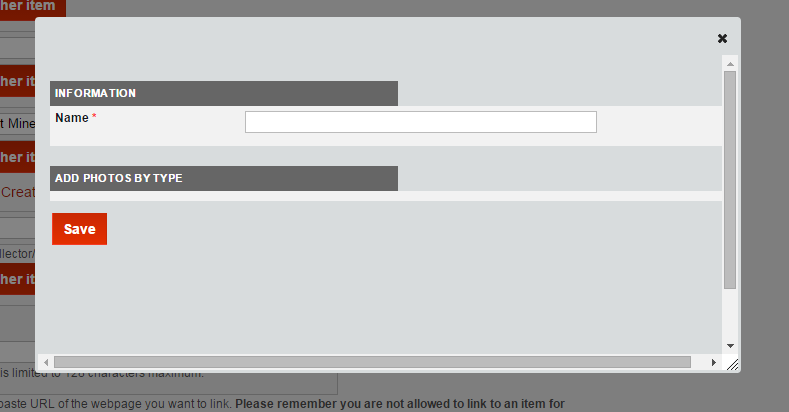
When clicked a pop up box will open.
In the name field add your correctly formatted locality string, Locality, Region, Country.
(Ignore the grey "add photos by type" - we have a little unwanted text here)
Once complete, click save
Once saved the pop up will close, now begin to retype your added locality in the Location field - the database will complete and insert for you.